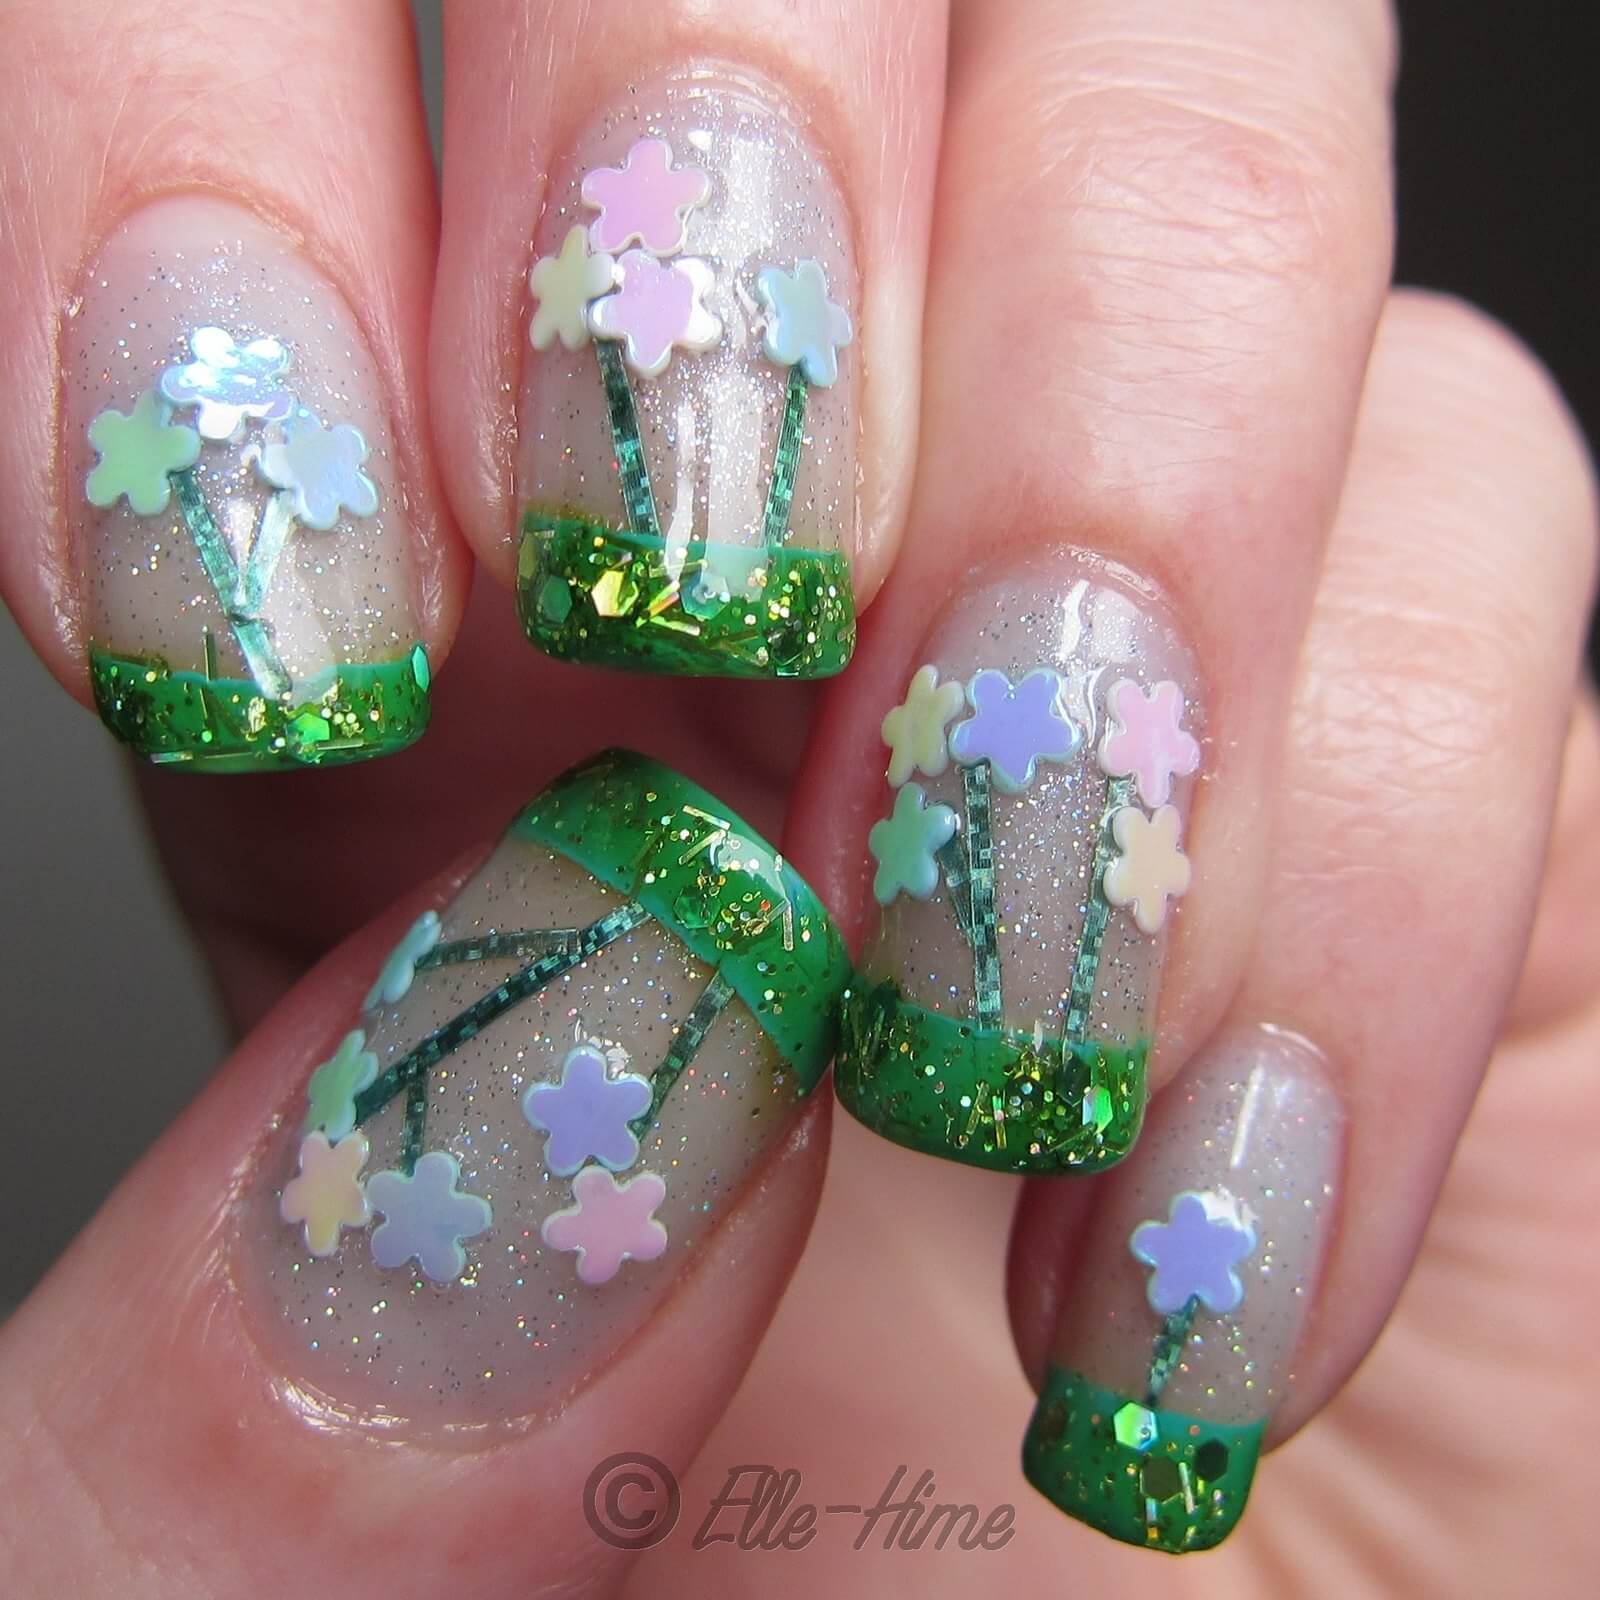
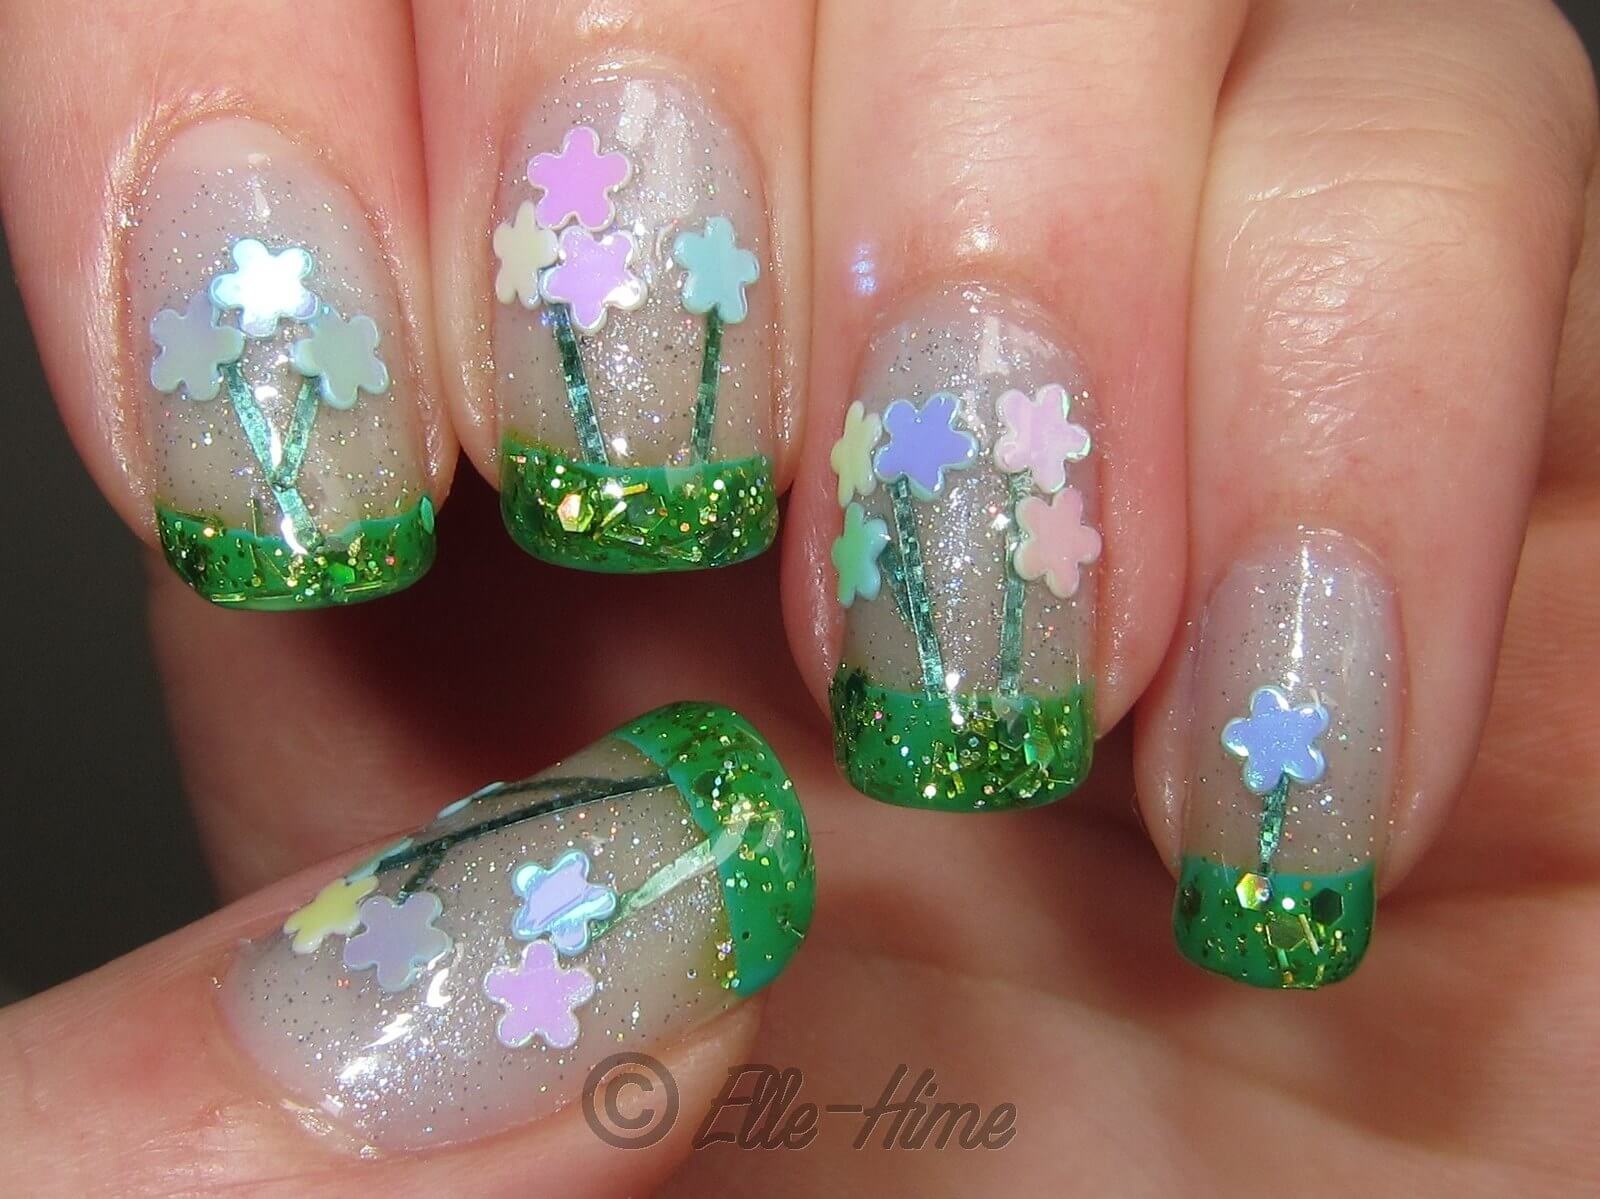
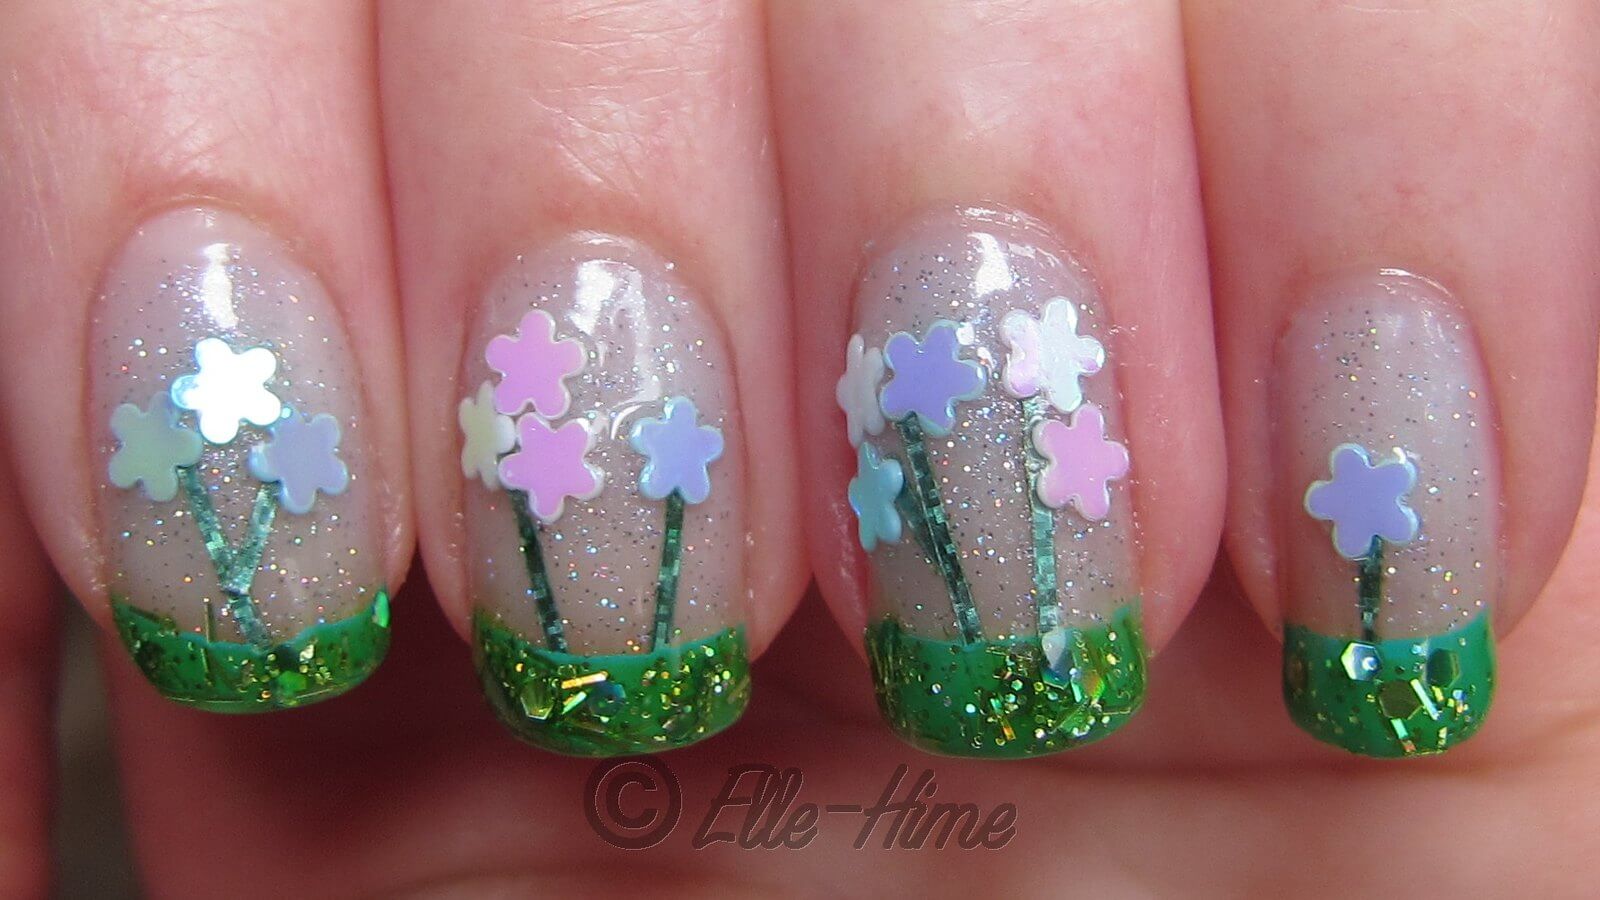
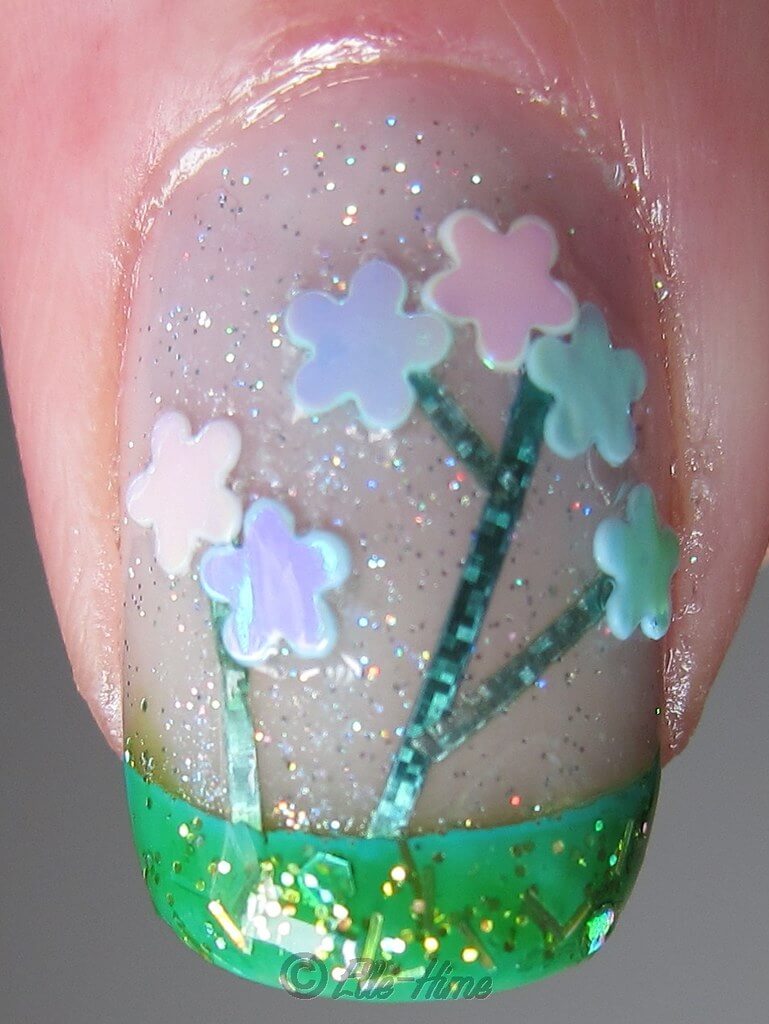
Today I have a very easy nail art design to share. I did these nails several months ago, for a spring nail art contest which I then never submitted the pictures to... At any rate, I figure they have relevance now as I attempt to breathe new life into my blog. Consider them a plea not to forget about me! =P
I just LOVE these~!! Ahem. I had to get that out. You see, forget-me-nots are one of my most favorite flowers. =) And they were easy to mimic since they are a basic 5 petal shape. The steps I used to make these are after the jump.
- Start off with a pale base coat (mine was sheer blue), which I topped with a holo microglitter because everything looks good with that... I used my favorite: China Glaze Fairy Dust
- Wait for nails to dry
- Cut small bits of green striping tape and create stems on the nails, using smaller pieces to branch off from the main stem.
- Use tape or french nail guides to tape off tips, and paint them with a green polish. Mine was China Glaze Four Leaf Clover
- Cover that green with a green glitter. I used Dare to Wear Disc Jockey because the bars made me think of grass, but it's grass-stain green base doesn't really match FLC... oh well!
- Take away the tip guides, carefully! They might try to pluck your flower stems.
- Cover everything with a thick clear coat and press clusters of white and blue flower-shape paillettes, or "spangles" into the wet polish.
- Finish the nails with lots of top coat to seal in the flowers!
Here is a shot of the finished nails with flash. And yes, I used just two colors of flower paillettes. They all have a iridescent coating on them that shines pinky-purple, which works perfectly as forget-me-nots because they come in all those colors!
I absolutely loved wearing these and I'd definitely do them again, perhaps in different color variations! In these colors it makes for a soft and dainty look, but with bright flowers it would be a good summer manicure.
What do you think? Would you wear these?
Like I said before, these were originally for a nail art contest on another blog. I just focused on doing my nails and then took pictures of them. Would anyone want to see a step-by-step tutorial, or is the text description above clear enough?
Also, I will be posting an update of what went on during the big blog hiatus. I wanted to get a nail post out before everything around here seemed to involve walls of text, though. ;)
Thanks for looking!


Super Adorable, love it hun:)
ReplySara xx
Thanks muchly for the comment - I'm glad you do!
ReplyAre you a goddess or what???? FANTASTIC!!!!!
ReplyHmm, nope! Just a girl with a whole lot of glitter on her hands! ;D
ReplyThank-you, though. ^-^
this is completely awesome <3<3
ReplyThanks so much, that means a lot coming from a talented nail artist as yourself! =D
Reply